Many of us use some or other android emulators on our PC. BlueStacks is one of the most used emulators. Like our Smartphone which we root for admin excess, we can also root Bluestacks since it is an android emulator. The same can be done with BlueStacks on Pc. But many people face difficulties in rooting Bluesatcks 3 since it is newly launched. So here in this article, we present to you Ways to root Bluestacks 3 with latest tricks.
A rooted phone allows a large no. of applications to run easily on your phone which previously requires access to certain system settings, as well as flash custom ROMs to your phone and the same can be done with your Bluestacks too. This article will list methods to easily root your android emulator for pc. If one method is not working on your emulator due to version or any other Pc related issue simply move to the next method and try that.

What is Rooting
Rooting is a way by which you will be giving yourself root permissions on your phone. It’s similar running programs as administrators in Windows and running a command with sudo in Linux. It is equivalent to jailbreaking an iPhone. Applications can easily run in a rooted phone which require certain system settings to run. You can even flash custom ROMs to your phone, which add all sorts of extra features.
- full customization for just about every theme/graphic
- Regardless of App Store, it is posted, any app can be installed on your rooted Phone.
- extended battery life and added performance
- An Android device can be updated to latest version, regardless it was launched by the manufacturer or not.
Check This: BlueStacks For PC & Mac (Using mobile Apps On Your PC)
How to Root Bluestacks 3
Since you want to root Bluestacks to have a Superuser experience. Here we are going to check out some of the latest working methods to root Bluestacks 3.
We have written more than one method here. Because when the app updates, many of the old ways stop working and we have to search new methods to root Bluestacks. Follow each and every method and move on to the next when the previous one is not working for you.
So lets us start with method no.1:-
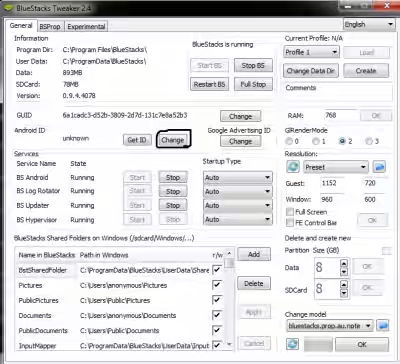
With BSTweaker 2 and SuperSu
Step 1:- Download BSTweaker 2 from here:- BSTweaker 2
Step 2:- Now simply extract the .rar file. This can be done with any software like WinZip or WinRAR. Extract the .rar file in a specified folder and search for the .exe file after extracting.
Step 3:- After extracting the .rar file. Click on the .exe file from your Pc after copying it in the Bluestacks directory. The process is automatic and will root your Bluestacks without yourself doing anything.
Step 4:- Now download SuperSu .apk from here:- SuperSu Latest apk. And install it on your Bluestacks app player. This app will give your app player root excess.
Step 5:- You can download Root Checker from the Play Store to check if root is successful or not. This app can confirm whether your mobile is rooted or not.
Rooting Bluestacks 3 using BS Easy Tool
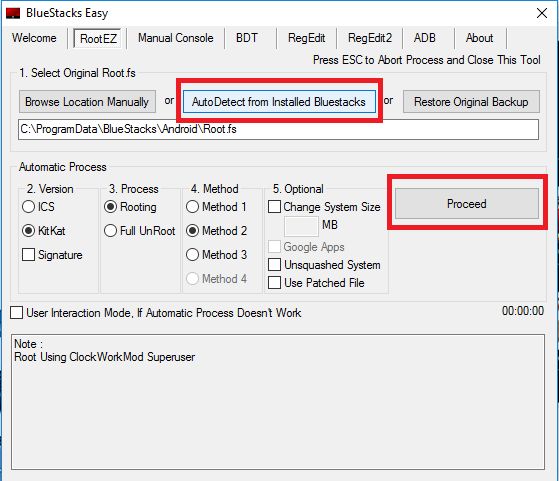
Step 1:- Open Bluestacks and install root checker to check first
Step 2:- Now Download the BS easy tool from here:- BS Easy Tool
Step 3:- Unzip the downloaded zip file to a folder
Step 4:- Now double click on the extracted setup.
Step 5:- There you will notice an application with few buttons.
Step 6:- Now Click on “Patch for Superuser X” and wait for some time.
Step 7:- It will show the success message in status bar.
Step 8:- It will then open superuser x in your bluestacks 3 app player.
Step 9:- Now close that tab and using Root checker, check the root status
Done! You successfully rooted your bluestacks 3 app player for android on windows.
By following this step you can also root your Bluestacks 3 on your Pc. It is one of the easiest method available on the internet to easily root your Bluestacks 2.
Using KingoRoot to Root Android
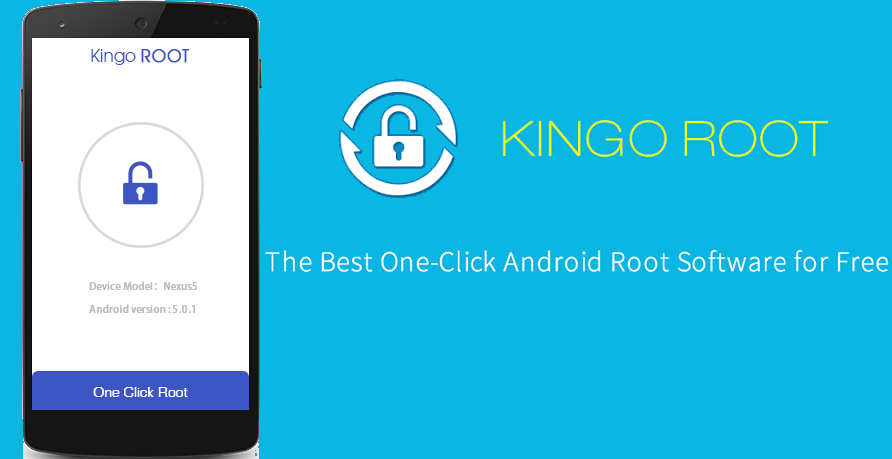
Rooting an android phone is a lot easy now as much different application are available in the app market to root an android phone. Lots of new apps were created for rooting android, but Kingroot is definitely the best of all. Kingroot directly modifies the android system and creates the root partition inside your Android device. Kingoroot is one of the most popular apps to root an android device. The best part is that it also works on Android emulators like Bluestacks.
Step 1:- First of all download KingoRoot app on your Computer. Bluestacks will recognize the Kingoroot android app.
Step 2:- Double Click on that .apk file. This .apk file of kingoroot will be installed via Bluestacks App Handler.
Step 3:- Navigate to the App Menu on Bluestacks.
Step 4:- Now click on Kingroot App to open it.
Step 5:- It will show root status error: Fix. This is the message for unrooted devices.
Step 6:- Click on the Android Logo in the centre. The Rooting Procedures will start for your Bluestacks.
Step 7:- Wait for it to root your Bluestacks automatically. This will take a few seconds to a few minutes.
Step 8:- As soon as it shows completed, click on it to open. Wait for sometime and bluestack will open automatically.
Step 9:- Now just restart your Bluestacks using BS Tweaker. Click Restart.
Step 10:- Wait for Bluestacks Tweaker to automatically close and restart Bluestacks.
Step 11:- To confirm, your device is rooted or not Download Root Checker and install in on your emulator.
Installing Xposed Framework to Bluestacks using BS Tweaker:
Step 1:- After rooting your device, open Bluestacks Tweaker Software. Link:- BS Tweaker 2
Step 2:- Run it as Administrator.
Step 3:- Now open Bluestacks App Player.
Step 4:- In the top left corner, there will be three navigation menu.
Step 5:- Click on Experimental.
Step 6:- Now click on Install Xposed.
Step 7:- Wait for few minutes.
Step 8:- Xposed Framework will be installed on your Bluestacks.
Step 9:- Restart your Bluestacks 2.
Rooting an Android device has now become much easier with the release of so many easy-to-root rooting apps. Lots of new apps were created for rooting android. With these 3 methods listed above, you can easily root your Bluestacks 3 on your Pc. These all are tried methods for BlueStacks 3.0 but we don’t guarantee any of these methods to work on any update over this bluestacks 3.
If you got any problem with the above-mentioned methods. Any method is not working for you or any other queries. Feel free to ask us in Comments section below. We will be more than happy to help you.


